Tutorial - Creating Rocky 9 Users with SELinux for running Apario Reader
This guide will give you detailed instructions for creating a new user in the Rocky 9 linux OS that is recommended for the various projects that I currently work with.

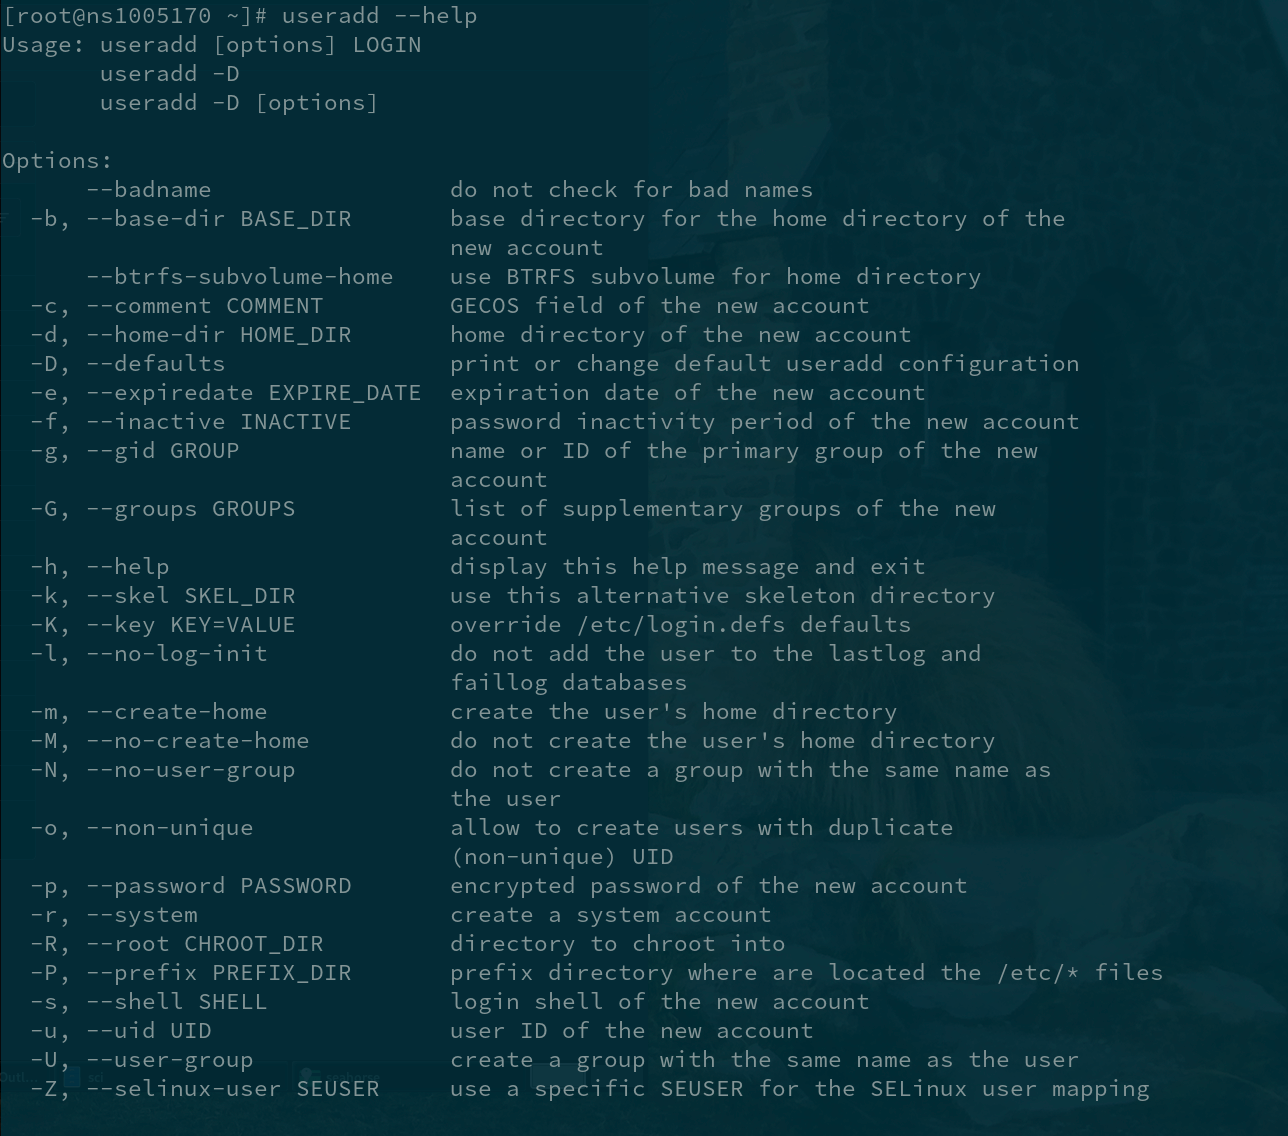
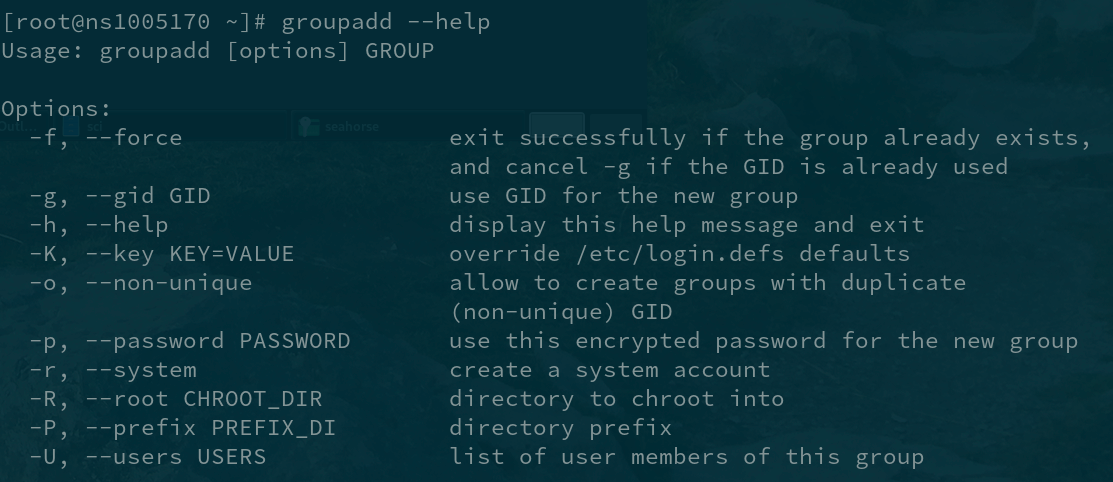
For this example we are going to create the user apario and grant it the necessary permissions that it requires to administer the machine. Before we proceed, it is important that we understand the commands that we're about to use. I am running useradd --help and groupadd --help to ensure that I understand all of the options. I've provided an image format and the SEO text format.
You should have experience with the following in order to successfully be able to run your own instance of apario-reader.
1. Basic understanding of the Bourne Again Shell (BASH) Terminal in RedHat / CentOS / Rocky flavored Linux.
2. Basic understanding of YAML configuration files.
3. Basic understanding of installing missing packages on your system for the apario-writer's dependencies.
If you don't have these skills at a level where you feel confident in running your own instance of apario-reader, the Unicorn Service is a fully managed instance of Apario Reader for you to publish your contributions to the Raven Squad Army and get to hand-select which documents from .gov and .mil sources are hosted on your instance and shared with the global OSINT community.

[root@ns1005170 ~]# useradd --help
Usage: useradd [options] LOGIN
       useradd -D
       useradd -D [options]

Options:
      --badname                 do not check for bad names
  -b, --base-dir BASE_DIR       base directory for the home directory of the
                                new account
      --btrfs-subvolume-home    use BTRFS subvolume for home directory
  -c, --comment COMMENT         GECOS field of the new account
  -d, --home-dir HOME_DIR       home directory of the new account
  -D, --defaults                print or change default useradd configuration
  -e, --expiredate EXPIRE_DATE  expiration date of the new account
  -f, --inactive INACTIVE       password inactivity period of the new account
  -g, --gid GROUP               name or ID of the primary group of the new
                                account
  -G, --groups GROUPS           list of supplementary groups of the new
                                account
  -h, --help                    display this help message and exit
  -k, --skel SKEL_DIR           use this alternative skeleton directory
  -K, --key KEY=VALUE           override /etc/login.defs defaults
  -l, --no-log-init             do not add the user to the lastlog and
                                faillog databases
  -m, --create-home             create the user's home directory
  -M, --no-create-home          do not create the user's home directory
  -N, --no-user-group           do not create a group with the same name as
                                the user
  -o, --non-unique              allow to create users with duplicate
                                (non-unique) UID
  -p, --password PASSWORD       encrypted password of the new account
  -r, --system                  create a system account
  -R, --root CHROOT_DIR         directory to chroot into
  -P, --prefix PREFIX_DIR       prefix directory where are located the /etc/* files
  -s, --shell SHELL             login shell of the new account
  -u, --uid UID                 user ID of the new account
  -U, --user-group              create a group with the same name as the user
  -Z, --selinux-user SEUSER     use a specific SEUSER for the SELinux user mapping

[root@ns1005170 ~]# groupadd --help
Usage: groupadd [options] GROUP

Options:
  -f, --force                   exit successfully if the group already exists,
                                and cancel -g if the GID is already used
  -g, --gid GID                 use GID for the new group
  -h, --help                    display this help message and exit
  -K, --key KEY=VALUE           override /etc/login.defs defaults
  -o, --non-unique              allow to create groups with duplicate
                                (non-unique) GID
  -p, --password PASSWORD       use this encrypted password for the new group
  -r, --system                  create a system account
  -R, --root CHROOT_DIR         directory to chroot into
  -P, --prefix PREFIX_DI        directory prefix
  -U, --users USERS             list of user members of this group
System Requirements
In this tutorial we are going to assume the following requirements:
- User Name:
apario - User ID: 369
- Group Name:
apario - Group ID: 369
- Permission:
sudo
Requirements Gathering
Now that we've established what we want to create, let's understand the OS first by running some commands to get more information about the system before proceeding. Otherwise we could damage the system.